Helping your child write neat, clear letters can feel tricky at first, but with the right approach it becomes simple and enjoyable. Small changes to posture, pencil grip, and practice routines make a big difference to letter formation and confidence. This guide walks you through the essentials, so you can support your child as they learn to write with comfort and pride.
Create a good home learning environment
Good handwriting begins before the pencil touches the page. A calm setup reduces stress and helps little ones focus.
- Seat and table height: Your child’s feet should be flat on the floor or a footrest, with hips and knees at right angles. The table should sit around elbow height so shoulders can stay relaxed.
- Paper position: For right-handers, tilt the top of the page slightly right. For left-handers, tilt slightly left. Keep the paper steady with the helper hand.
- Lighting and spacing: Use bright, even light and give your child space to move their arms freely.

What is the best pencil grip for children?
The dynamic tripod grip is widely recommended because it balances good pencil control with comfort. Here is how to spot it:
- Thumb and index finger pinch the pencil near the tip.
- The pencil rests on the side of the middle finger.
- Ring and little fingers curl gently into the palm.
- The wrist stays straight and relaxed.
- The pencil points towards the shoulder of the writing hand.

I’m sure we’ve all heard our children say ‘’my hand hurts’’ or ‘’I don’t like writing’’. If your child squeezes tightly, presses too hard, or wraps their thumb around the pencil, they will often tire or get frustrated. Using the right tools to encourage your child to build confidence and enjoy learning to write can make all the difference!
We recommend using our age-appropriate tripod grip handwriting pencils, which are specially designed to aid the correct tripod grip and help children to learn to write with ease and comfort. With a hexagonal grip, shorter length, and a wider diameter, when using our pencils classroom studies show 95% improved writing after just the first use!

If you are supporting a left-hander, seat them on the left side of a shared table so elbows do not bump, tilt the paper, and keep the writing space clear in front of the left shoulder. Click here to read our blog on 10 Top Tips to Help Left-Handed Children Build Good Pencil Grip and Learn to Write
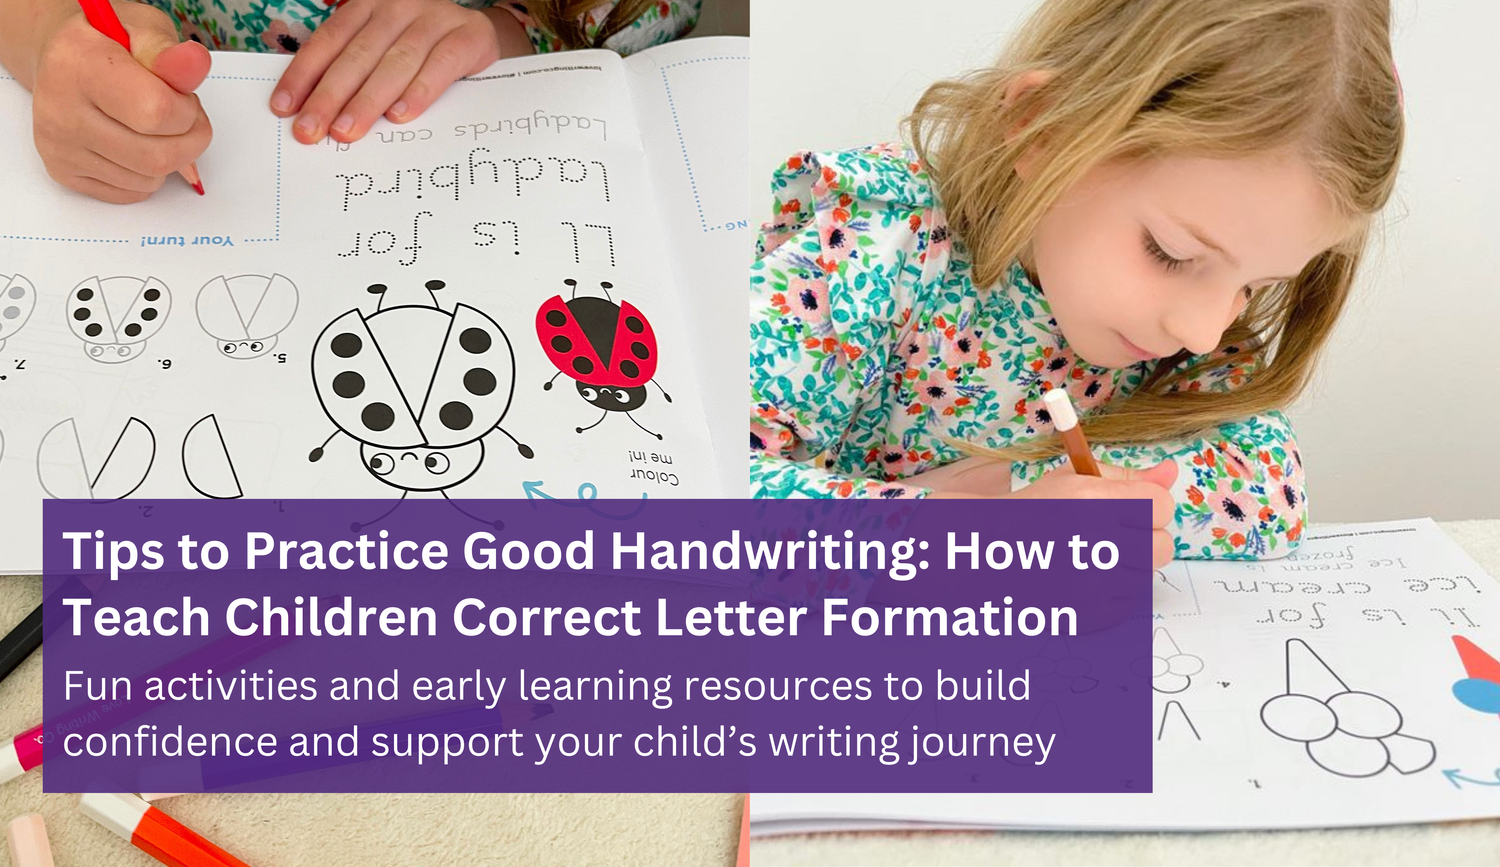
Teach letters through simple stroke families
Children learn faster when letters are grouped by their starting stroke. Teaching this way builds muscle memory and makes writing feel more predictable.
- Down-stroke letters: l, i, t, j, y. Start at the top, pull straight down, then add dots or tails.
- Curly caterpillar letters: c, a, d, g, o, q, s, f. Begin with a c shape, then build into the full letter.
- One-armed robot letters: r, n, m, h, b, p. Start with a tall down stroke, then lift and add the arm or bump.
- Zigzag letters: v, w, x, z. Use straight lines that meet in points.
Top Tip: Focus on lowercase letters first, since these appear most in early reading and writing. Encourage your child to speak their movements out loud to help practice letter formation and muscle memory.
A step-by-step guide to good handwriting skills
Follow this routine to build accuracy, confidence, and neatness.
- Warm up the hands: Wiggle fingers, squeeze a soft ball, draw big shapes in the air, and do quick rainbow lines or lazy eights on scrap paper. This wakes up muscles and improves control.
- Practise big, then small: Start with large letters traced with a finger on the table, in sand or salt trays, or with a chunky crayon on a big page. Shrink the size gradually until your child can write on standard lines without tension.
- Focus on start points and direction: Always show where to start and which way to travel. Use short cues like, “top, down,” or “round, up, down.” Consistent language helps the pattern stick.
- Keep letters on the lines: Teach line awareness with three zones, sky, grass, and ground. Tall letters reach the sky, small letters sit on the grass, and letters with tails dip to the ground. This builds uniform size and spacing.
- Use light pressure and a slow pace: Encourage a gentle grip and smooth, slow strokes. If lines look scratchy or fingers go white, remind your child to relax their pinch and take a mini shake break.
- Build independence: Move from tracing to copying to writing from memory. Start with a few letters, then simple words like their name and celebrate small wins often.

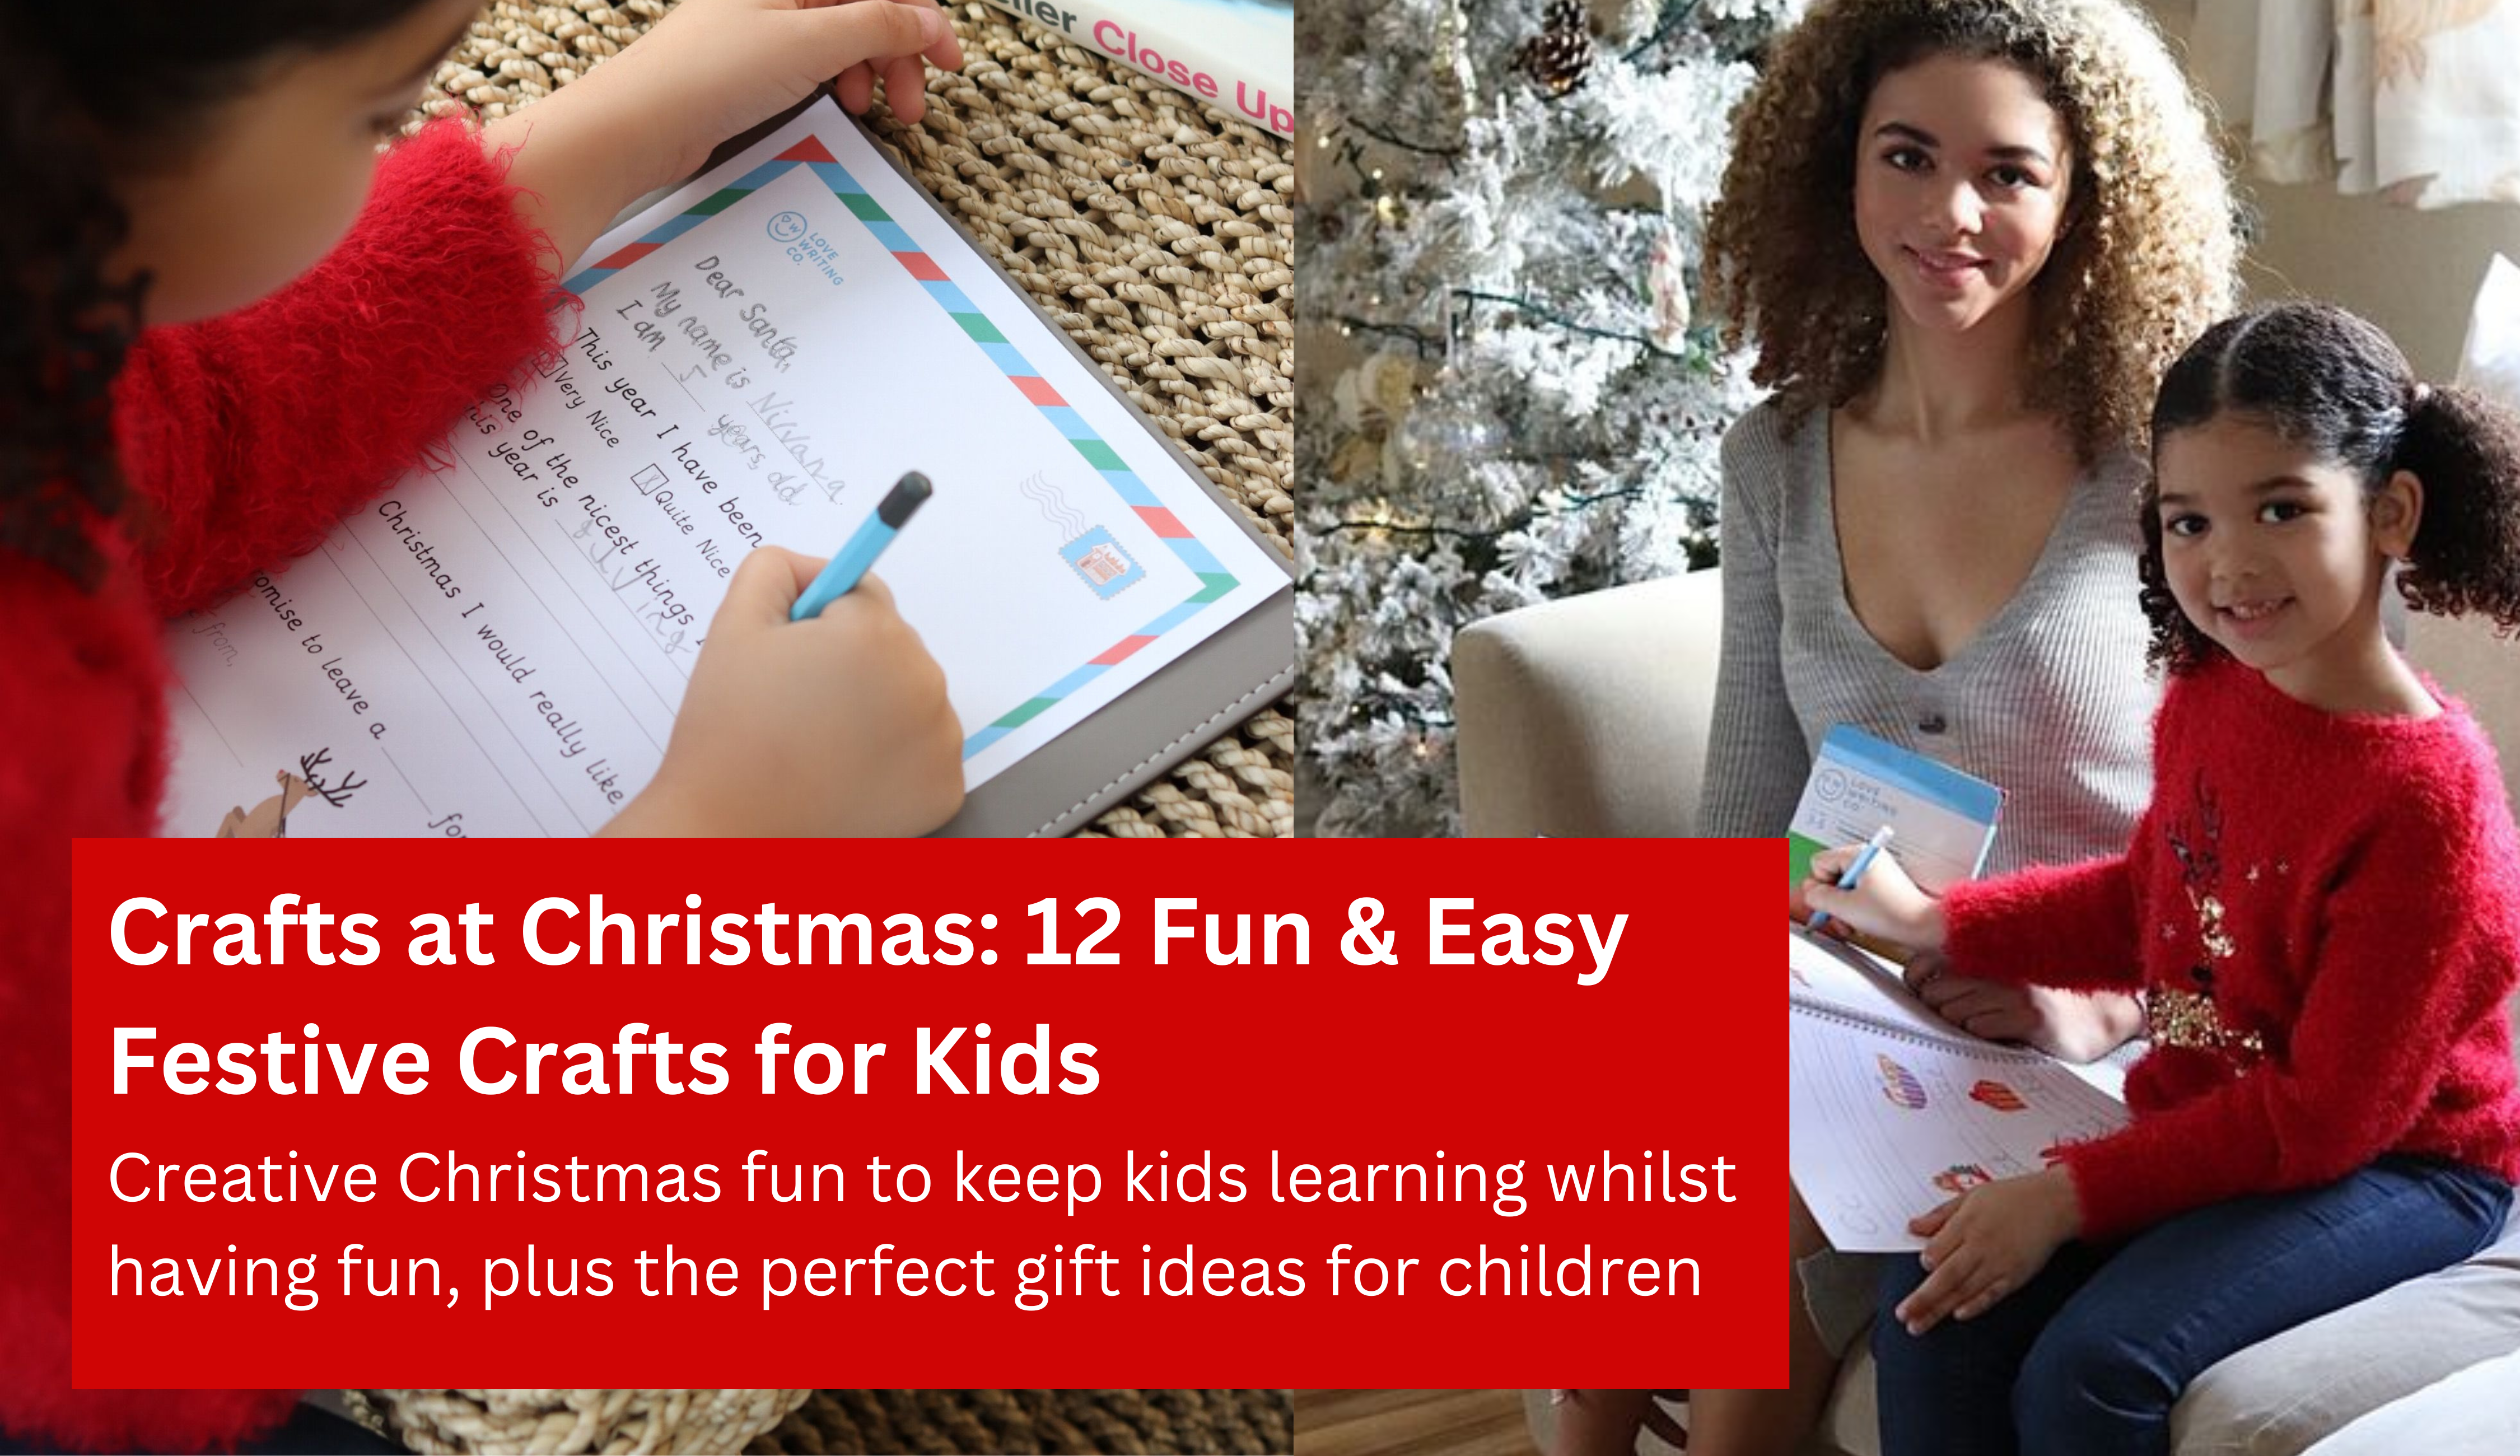
Fun handwriting activities to keep kids motivated
Little and often works best. Ten to fifteen minutes a day is enough at early ages. Keep the tone upbeat and switch activities to hold attention.
- Use multi-sensory play, such as writing letters in shaving foam, salt trays, or with finger paint.
- Add phonics links, say the sound as you write the letter to reinforce reading.
- Mix fine motor play, threading beads, using tweezers, playdough rolling, and peg activities build hand strength.
- Add motivation, sticker charts, themed pages, and character activities make routine practice feel exciting.
- Try our handwriting practice sheets for size control and line awareness, or alphabet handwriting packs that provide printable alphabet letters and letter tracing pages for quick set up at home.
All of our Handwriting Activity Books for 2, 3, 4 and 5 year olds include a guide for parents, teachers and children to learn how to hold their pencil with step-by-step directional arrows that teach them how to trace pre-cursive or cursive letters correctly, and are packed with fun handwriting activities to keep kids engaged and excited to practice - plus include 35 colourful reward stickers to motivate and celebrate progress. Being a lay-flat design and ring-binded, our workbooks are suitable for both right and left-handed children learning to write.

Common challenges and quick fixes
- Letters float above or sink below the line: Revisit sky, grass, ground cues and use lined paper with a clear middle band.
- Reversals like b and d: Teach an anchor word and picture, for example, “bed,” or link d to “c then up and down.” Slow down and rehearse the starting c shape.
- Hand fatigue: Check the seat and paper tilt, swap to a softer core pencil, and limit sessions to short bursts with stretch breaks.
- Smudging for left-handers: Position the paper slightly left, write slightly below the line of the hand, and encourage a gentle upward slant.
And that’s a wrap from us! Thanks so much for reading and for caring about your child’s writing journey. Remember, neat and confident handwriting doesn’t come from endless drills - it grows through small, steady routines, a bit of playfulness, and lots of encouragement. With the right setup, gentle guidance, and a positive attitude, progress really does add up week by week. Keep it light, keep it fun, and enjoy those little wins along the way.
Explore child friendly tools and resources to support daily practice, including tripod grip tools and focused handwriting practice activity books. When writing feels comfortable and fun, children are more likely to keep going, which is the real secret to mastering good handwriting. Happy Writing and we hope to see you next time! ❤️✏️

Leave a comment
All comments are moderated before being published.
This site is protected by hCaptcha and the hCaptcha Privacy Policy and Terms of Service apply.